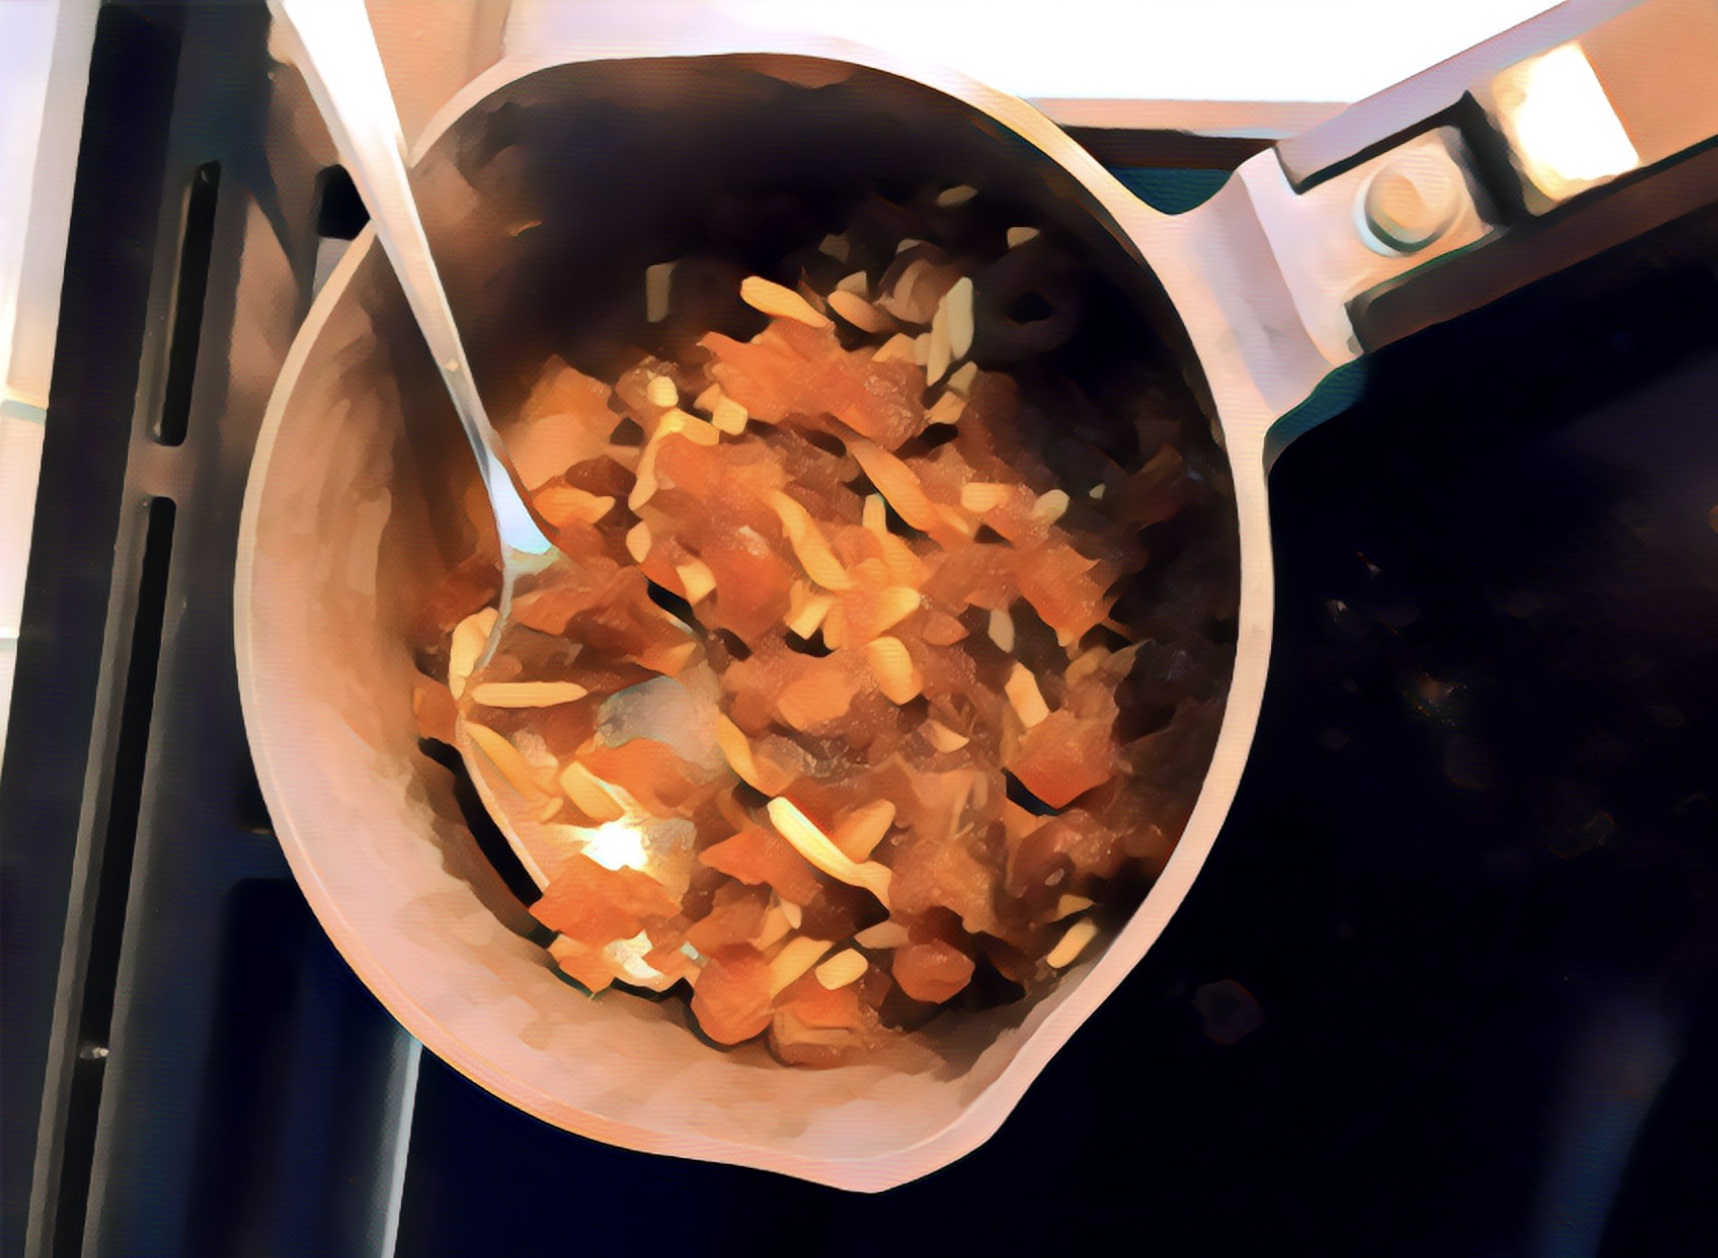
Feijoada is a Brazilian black bean stew that has become part of our family story
I first heard about feijoada from Sandra and Rene, friends from Brazil that we met at the University of Colorado in 1968. We were newlyweds and so were they. We prepared and ate many meals together in our tiny apartments in married student housing, and they told us about feijoada, the wonderful national dish of Brazil. But we didn’t get around to making feijoada before they left Boulder to return to Brazil.
Years later, in 1985 at the University of Kansas, we became host family to Mauro, a Jewish student from Rio, and I helped him make feijoada for his birthday party. He asked if he could have birthday party at my house and invite other Brazilian students at KU. He asked me to help him make a feijoada, so I said yes.
Although I have since eaten feijoada at Brazilian restaurants in on 48th St. in New York City, at a rodizio in Nashville, at a restaurant in Portugal, and at a fazenda in Brazil, when I think of feijoada, I always think about that feijoada that I made for Mauro’s birthday party at my house.
The night before the party, Mauro came over with a recipe and we went shopping. I was surprised to see that the list of ingredients included bacon, pork sausage, ham hocks, pork rind, pork sausages, you name it, the whole pig. Now, I have never kept a kosher home, but at the time I avoided cooking with pork or seafood, and avoided cooking milk and meat together. But, I thought, it was his birthday, his first time so far from home. I wanted this to taste like Brazil for him and for all the other Brazilian students he had invited, so we bought everything on the list, we went home, and I unpacked the groceries on the counter.
My husband came into the kitchen and when he saw this array of pork on the counter, looked at me, and said, “You must really like him!”
Well, yes. Yes, I did. In fact, Mauro became a permanent part of our family, and so did this story, and so did feijoada.
Whenever any of the Brazilian students left KU, we would have a feijoada as a big sendoff. When my daughter, then in high school, wanted to throw a farewell party for a friend, she asked me if she could have a feijoada, which she thought meant a going away party. And it took me a while to figure out that my son, in grade school at the time, thought that the name of the dish was “fish water.”
In my house, when I make feijoada I still usually make it without pork, despite some teasing about this, but I also still make exceptions for visiting Brazilians. What follows is my homestyle recipe, feijoada na minha casa, a simple version that reflects the way I make feijoada now. I include options for a traditional feijoada, with pork, as well as substitutions for a kosher or vegan version. Now, without pork, the feijoada won’t taste as good as the traditional version, but if you don’t eat pork, that doesn’t matter anyway. The dish will taste good and will give you an idea of what it is like to be in Brazil.
Feijoada is served with Brazilian rice (see recipe for Sandra’s Brazilian Rice), and traditional side dishes (see below.)
Feijoada na minha casa (Feijoada at my house)
I use canned beans, but if you want to start with dried beans, the first step is to soak two 1-lb bags of black beans overnight, rinse and then cook for several hours. (So you should have started yesterday). See “ABOUT DRIED BEANS” below.
If you are using canned beans, just start here:
Sauté in the bottom of a big soup pot: 1/2 lb bacon* diced, and 2 to 3 lbs kielbasa-style sausage* cut in 2 inch lengths.
Use linguica or kielbasa style sausage, flavored with garlic and paprika, NOT Italian style flavored with fennel seasoning. Three pounds sausage would be about 4 12 oz pkg (48 oz) of kielbasa links. See below for kosher and vegan options.
Once the meat has browned, add 4 large 28 oz cans of black beans with liquid. Season to taste with salt, garlic, and smoked paprika.
In a small frying pan, saute together 1 large onion chopped, 3 cloves garlic, and 1/2 cup parsley. Then add to the bean and meat mixture.
Simmer the beans and meat for about an hour. Season to taste. If you are not using pork, you will need to add extra garlic (3 or 4 cloves) and a couple of tablespoons of smoked paprika. And extra salt.
While the feijoada is cooking, prepare white rice (see recipe for Sandra’s Brazilian Rice) and the side dishes, which are VERY IMPORTANT:
Farofa: This is a garnish typically made with manioc flour, hard to get in the US. But you can make farofa de pão, from bread:
Spread about 3 cups coarse breadcrumbs (like Panko) on a cookie sheet and toast for 5 minutes at 350 degrees. Heat ¼ cup oil in a pan and saute 2 cloves of garlic. Turn the heat off, add toasted bread crumbs, and stir to moisten. Add 2 T chopped parsley and serve.
Kouve: collard greens or kale: You will need a couple of big bunches of greens. Wash, remove stems, cut leaves julienne style, and then lightly sauté with olive oil and garlic.
Orange slices: a big plate full, peeled and sliced.
Pickled red peppers, Peri-peri if you can find them. Sliced red cherry peppers if you can’t.
NOTES ON INGREDIENTS AND SUBSTITUTIONS:
ABOUT DRIED BEANS: *1 lb dried beans yields about 6 cups cooked beans (roughly equivalent to 2 large 28 oz cans or 4 15 oz cans. For this recipe you would need 2 lb dried black beans, for the full recipe, or 1 lb if you are cutting the recipe in half. Rinse the beans and soak overnight. Follow package directions and cook until the end of time to get those beans soft enough. When I was younger, cooked with dried beans all the time, but I am now 70 and officially too damn old for this. But if you have the time, knock yourself out.
ABOUT ADDITIONAL MEAT: If you are using dried beans, you can add beef short ribs, pork ribs, or even brisket to the beans as they cook, but add extra water. If you are using canned beans, you can cook the meat separately and then add it to the beans.
ABOUT SAUSAGE: Choose sausage flavored with garlic and paprika, like kielbasa. I use beef kielbasa, but for authentic Brazilian flavor, use pork kielbasa. Use Portuguese sausage (linguica or chorizo) if you can get it. For a kosher version, try Jack’s Gourmet (brand) kosher chorizo. If you want a vegetarian dish, there are some vegan sausages, including chorizo. Try Tofurkey brand
ABOUT BACON: you can use turkey bacon or Jack’s Gourmet’s “Facon” (kosher beef bacon) or vegan bacon substitute.
Written by Randa Dubnick
Illustration is “Feijoada” by Randa Dubnick
All rights reserved.


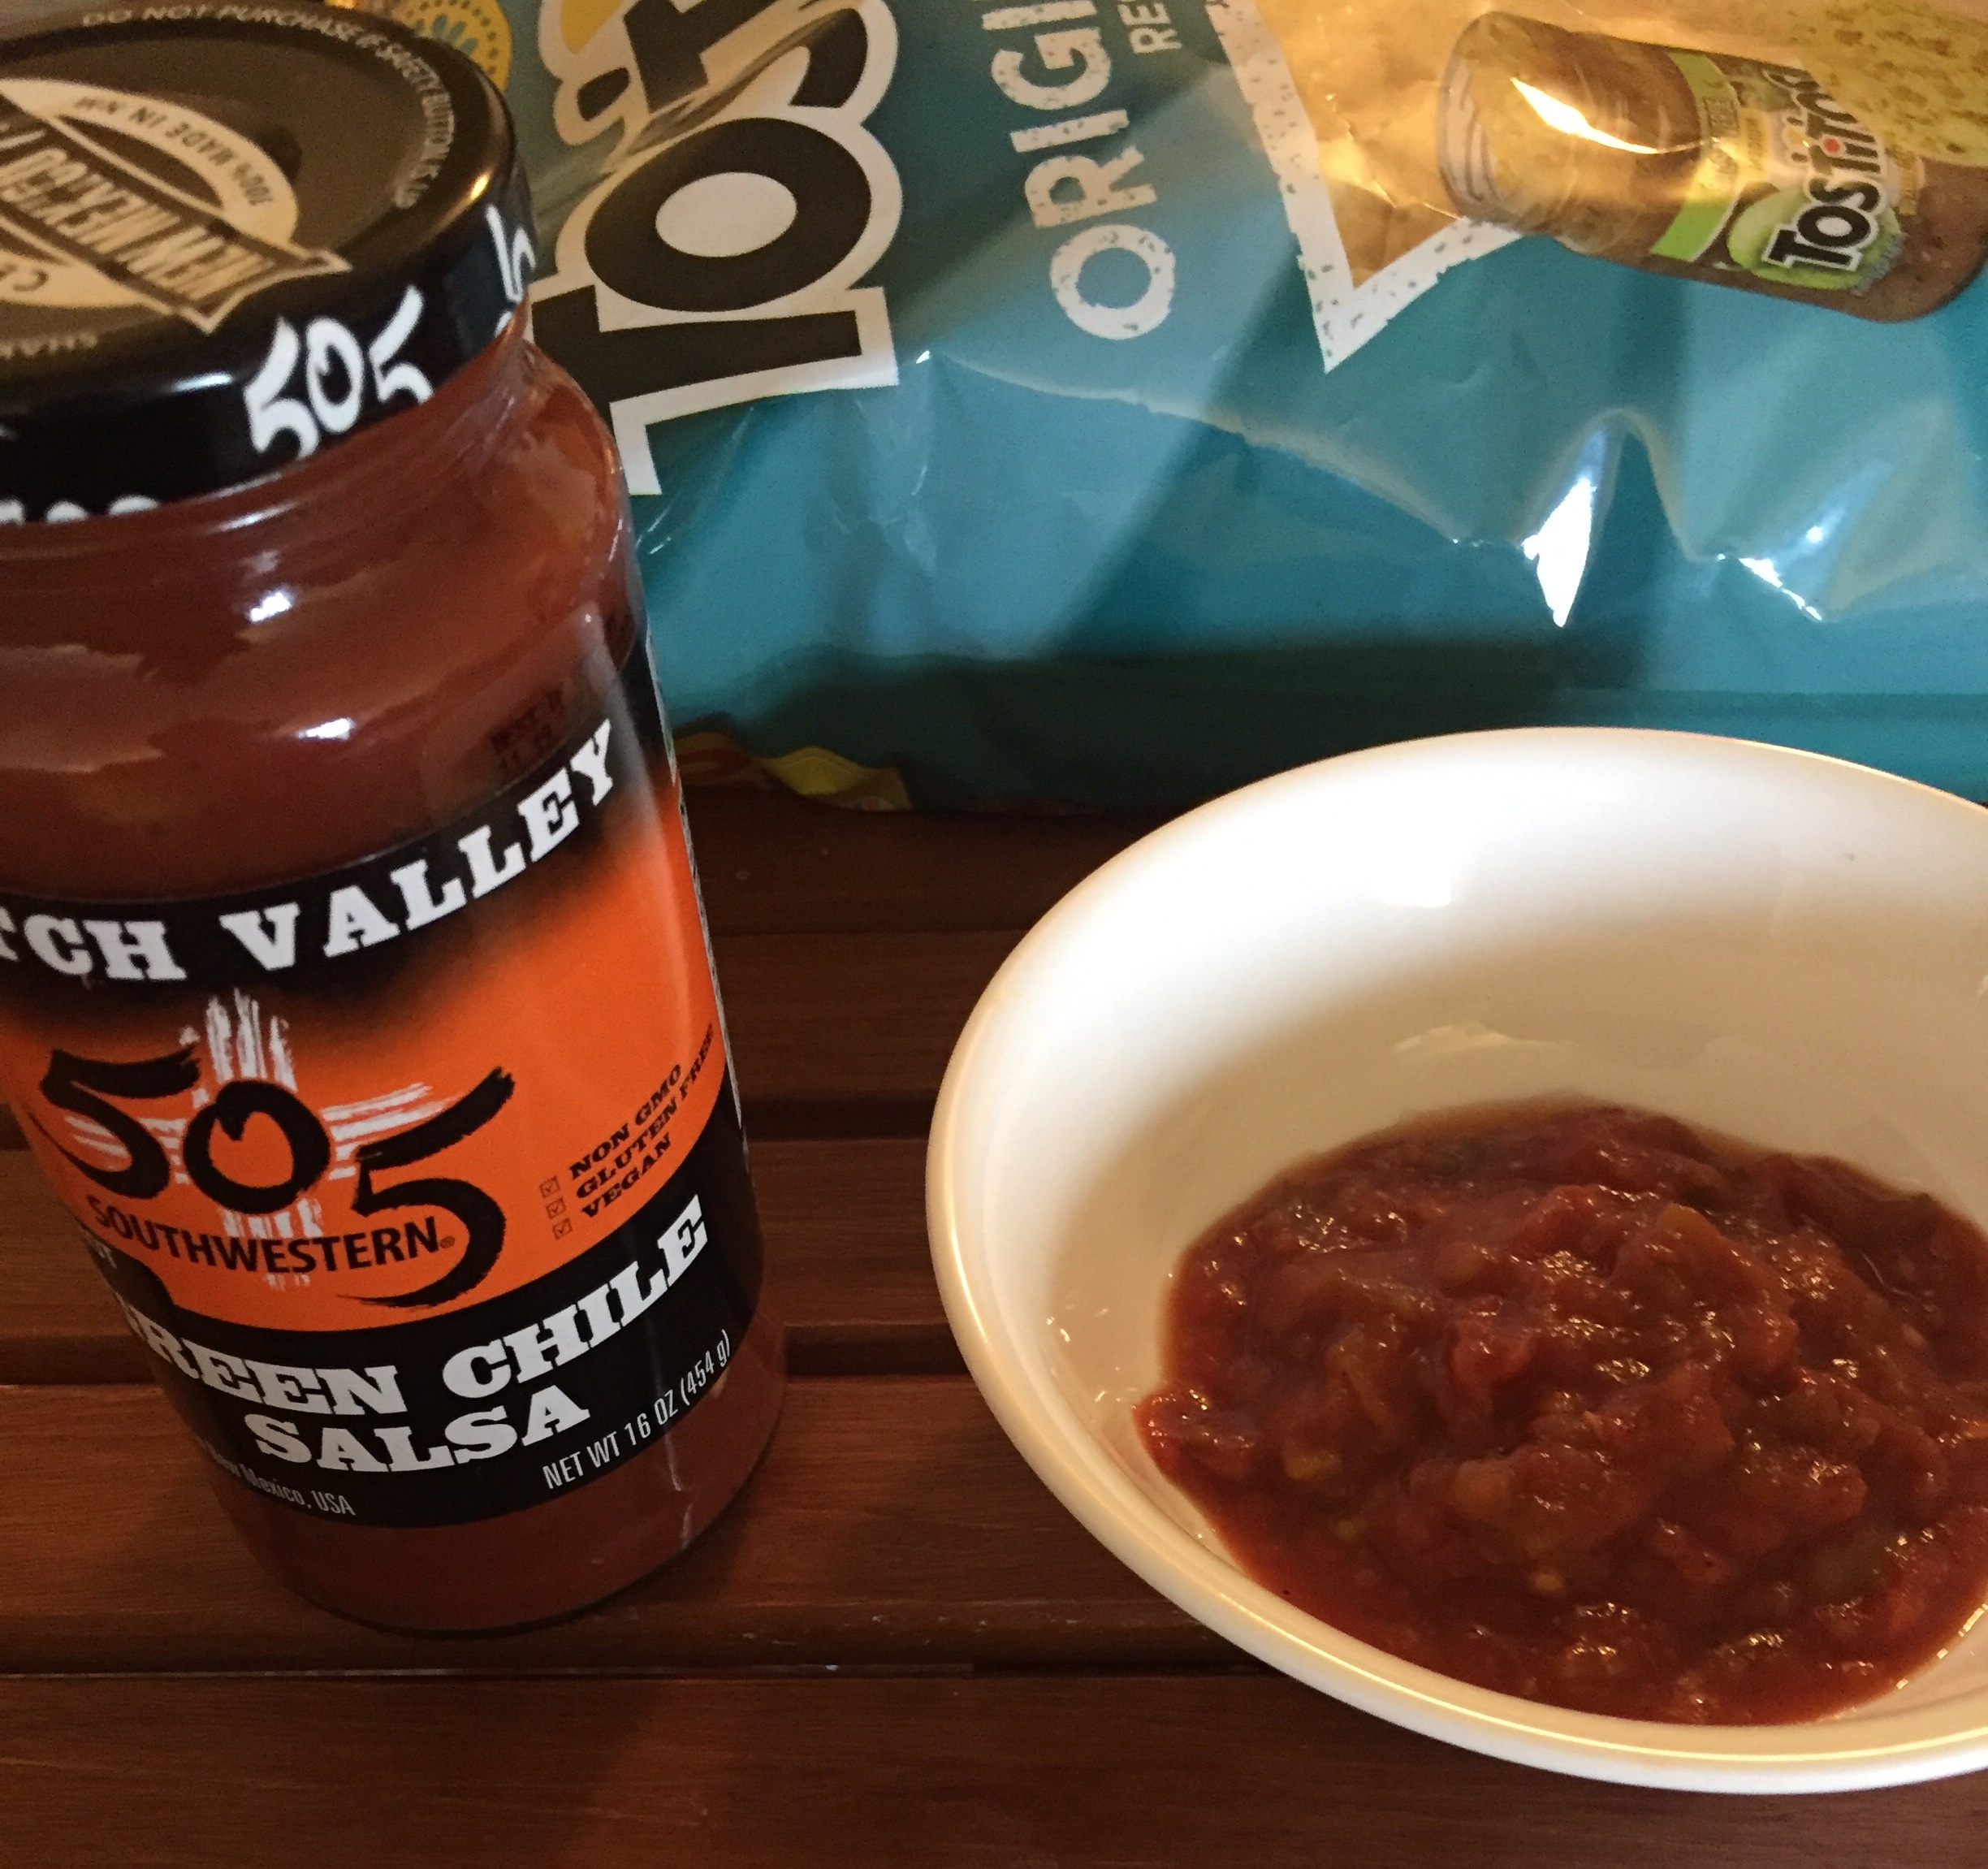
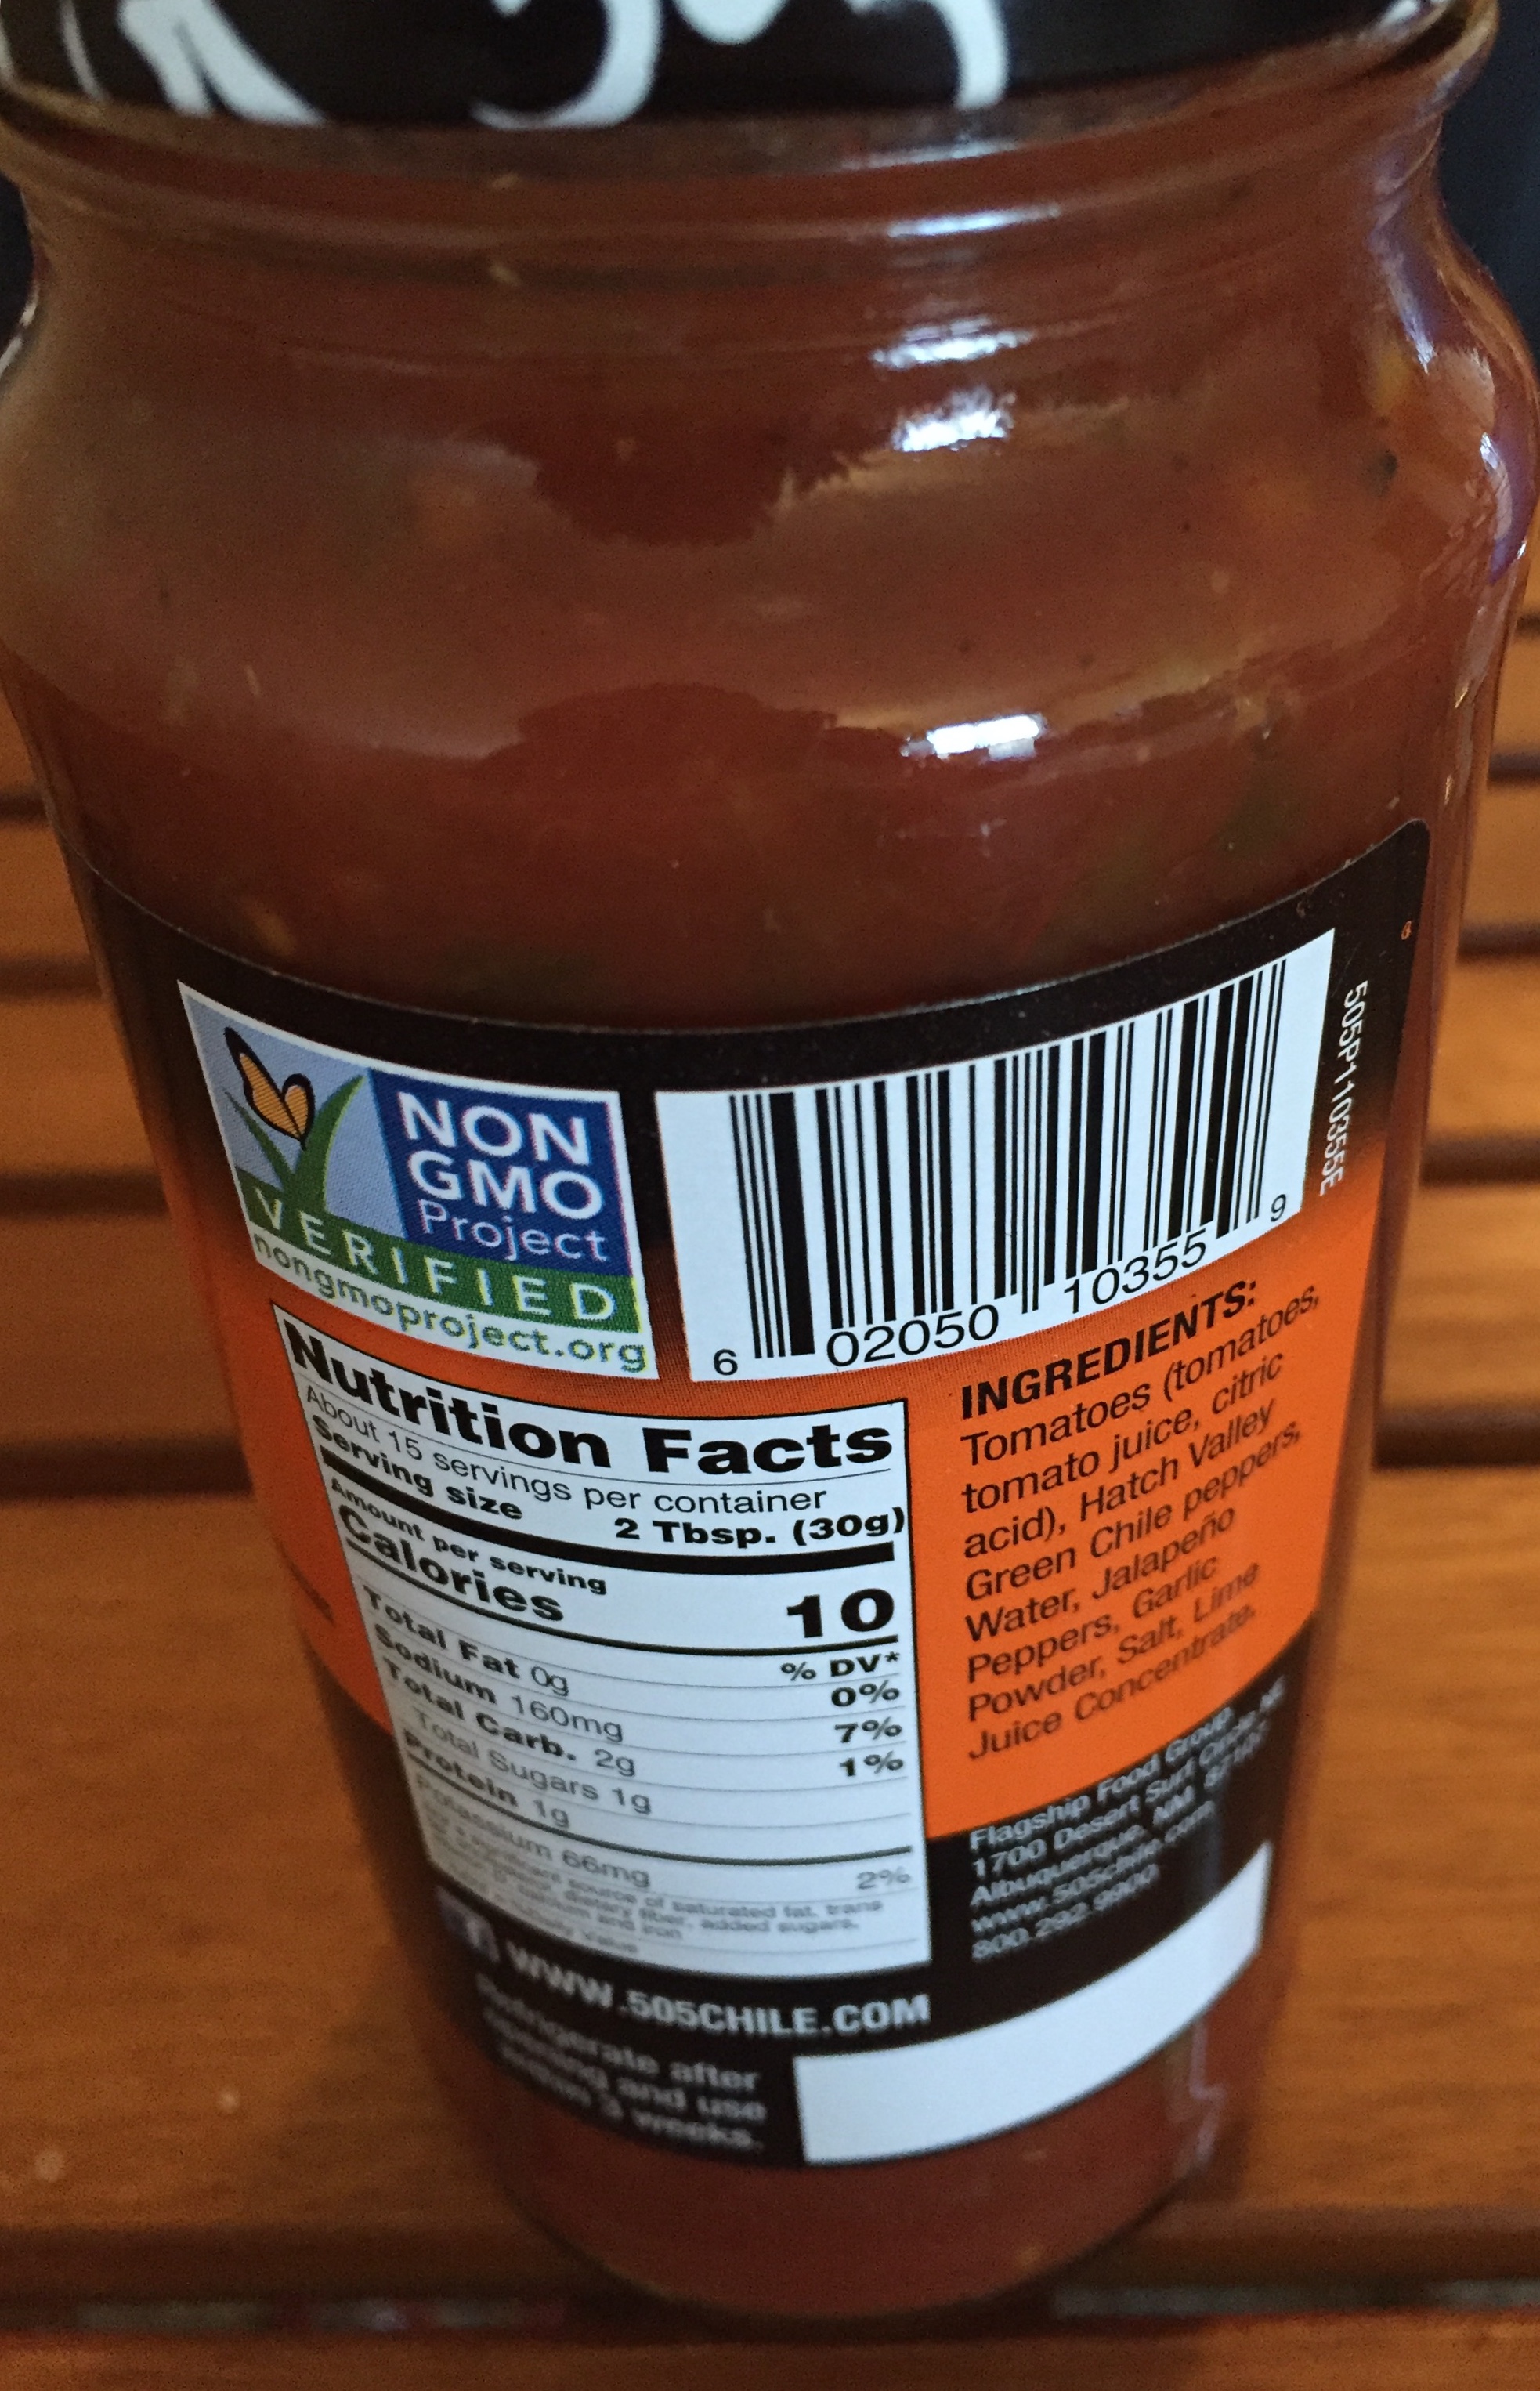
 I can’t cook for shit, which didn’t use to matter except I haven’t been to a grocery store since March 13th, in a coffeeshop since a few days before that, nor to any restaurants since even a few days before then. You don’t have to be a wide body like me to imagine the feelings of deprivation! Anyway, one of the things that has helped restore a sense of normalcy to my food life is the arrival of the 505 Southwestern Hot Hatch Valley Green Chile Salsa pictured below. I can honestly call it a great everyday salsa because I’ve literally been eating it every day since I got my hands on it, but what I really mean is that its jalapeño-enhanced flavor has jazzed up beans and rice and stuff like that, served as a great snack on its own with tortilla chips, and made a killer addition to scrambled eggs. It’s hot enough to make my nose run on occasion but not overpoweringly so, and even though it’s not exactly cheap–I paid $26.10 for two 16 oz. jars of the stuff–I like it so much that I’ve already ordered the same company’s tomatillo, garlic & lime green chile salsa to alternate with this crucial red one. In case you foodies were wondering why anybody would waste their time writing a fan letter to a salsa on a food blog, I’ll have you know that 1) I don’t have anything better to do at the moment, and 2) New Mexicans consider the Hatch Valley to be “the Napa Valley of green chile.” Órale.